Friday 28 March 2014

DIS ONE IS FER DA FLY BOYZ! DAKKADAKKAJET!

I've always toyed at this idea I could build a respectable Ork Fighta that any Ork Ace would want to fly in, and with all the fighter jet kits cheaper and at a fraction, I can't help but just have a go at this!

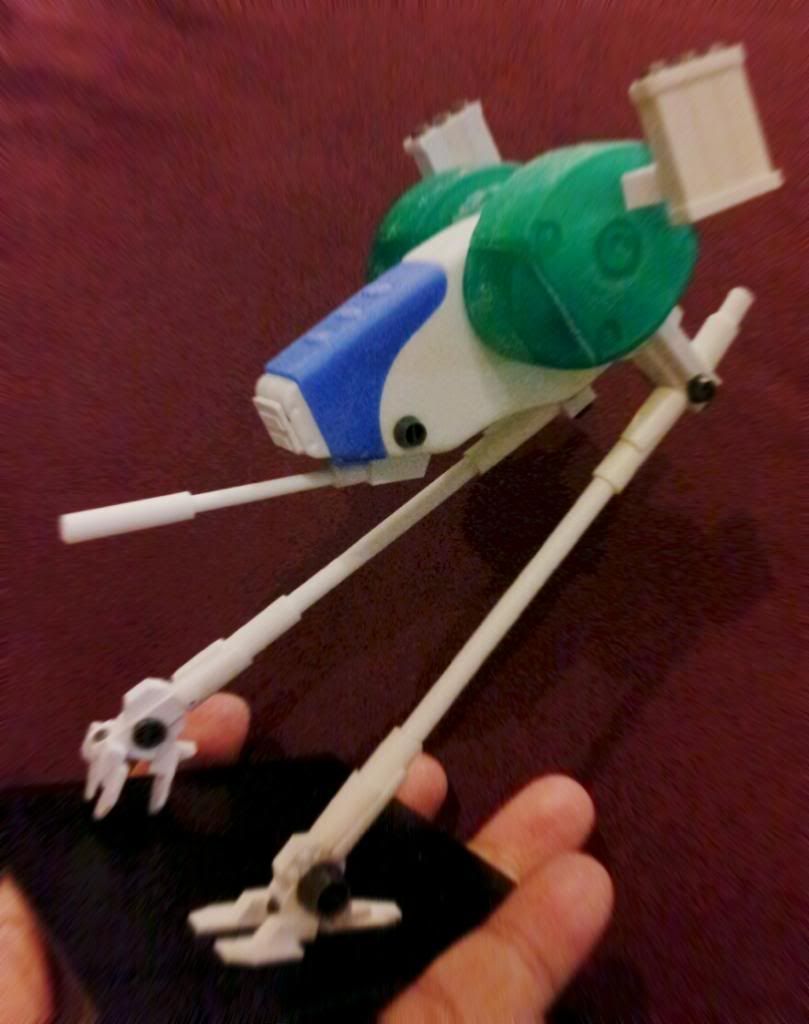
The end result, I believe, is the Dakkajet I've made is the ISO 9002 standard in the ork community [a very haughty thing to say...oops]..but hey of course there are many ork generals out there who had built and converted from some airplane kits and perhaps they are better than mine even! Please show them to me !

But for the mean time, this is MINE! WAAAAGH!!~

But for those who don't like to scratchbuild, bash or convert and all that hassle, please buy the offical GW Ork Bommer! Its packed with loads of stuff, and you'll have lotsa left over bits for you to build more!

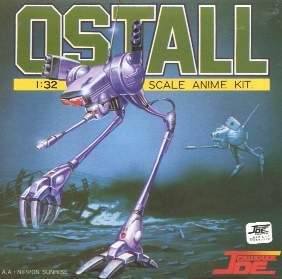
Now the kit I used is this 1/48 Mig:

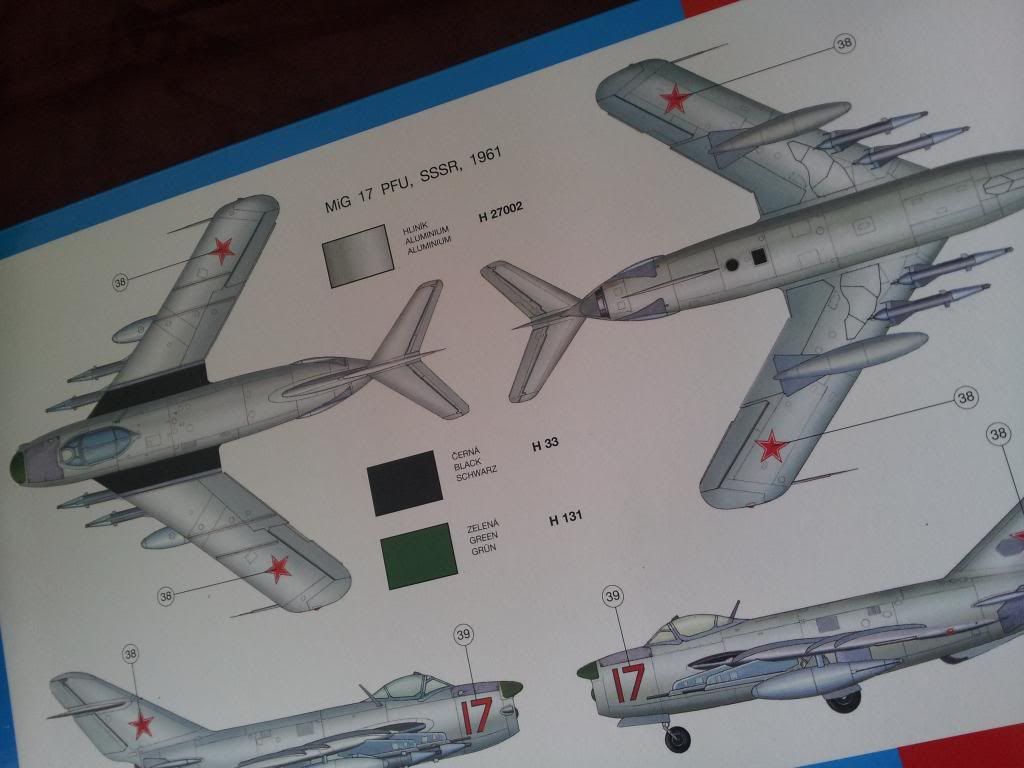
It had all the right shapes and curves that screamed "ORK" all over, but the rounded wing tips needs to go.


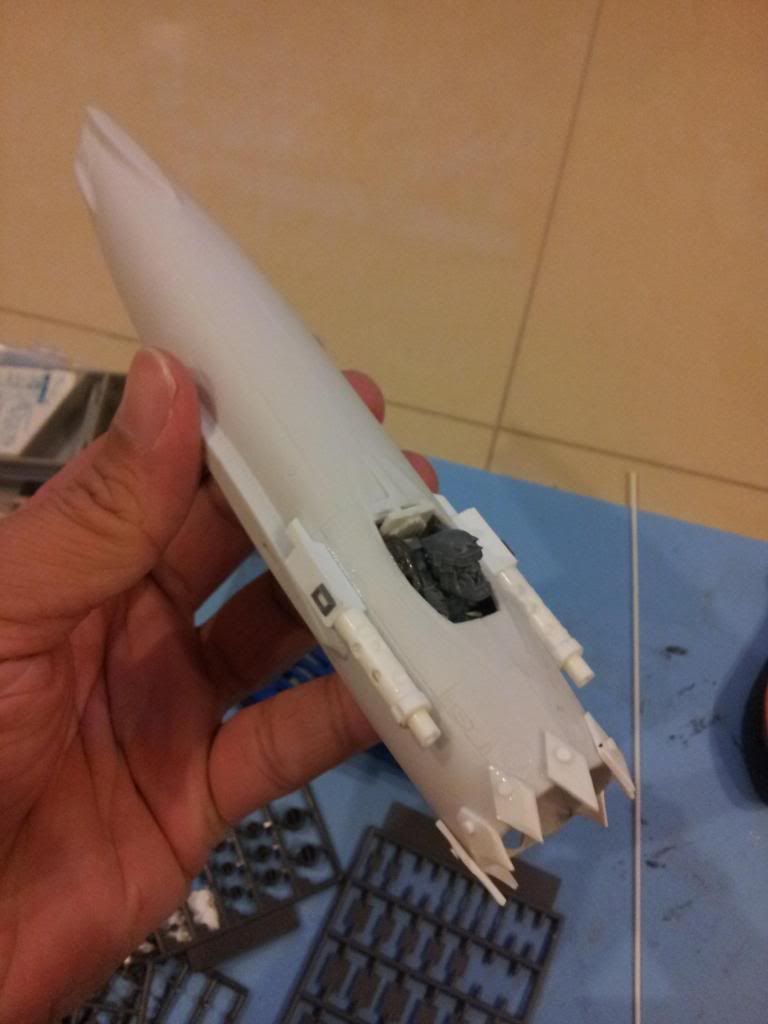
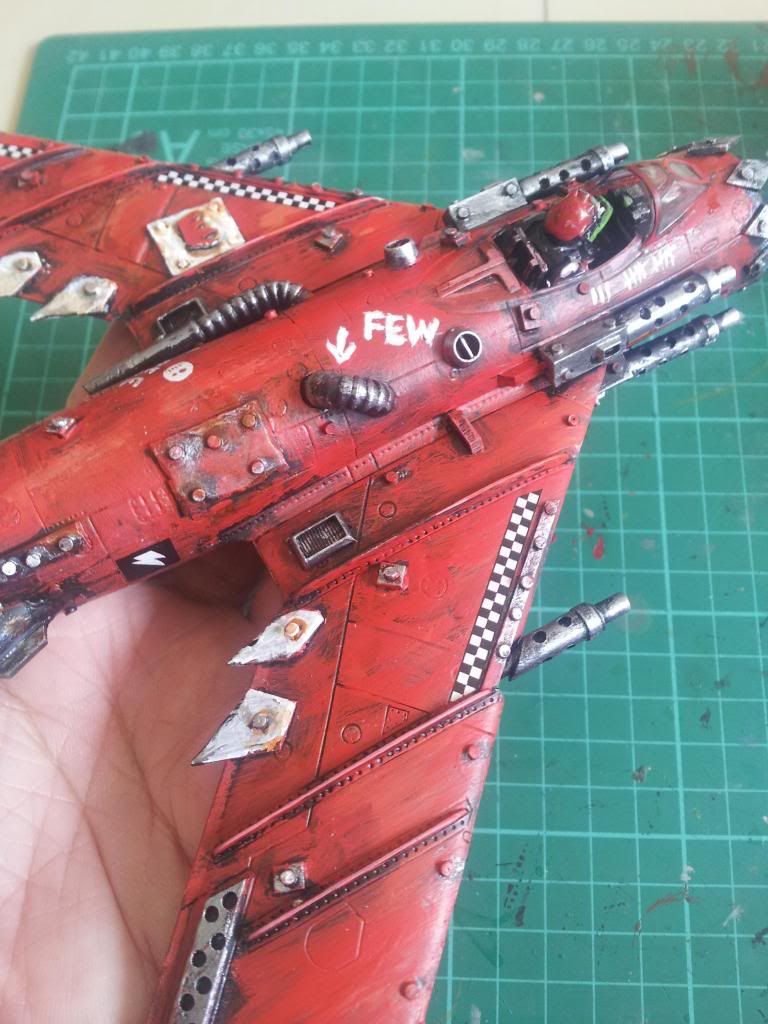
I squeezed in a Ork body and head into the cockpit with arms or legs but these covered up nicely when you paint everything black and its just his head sticking out.

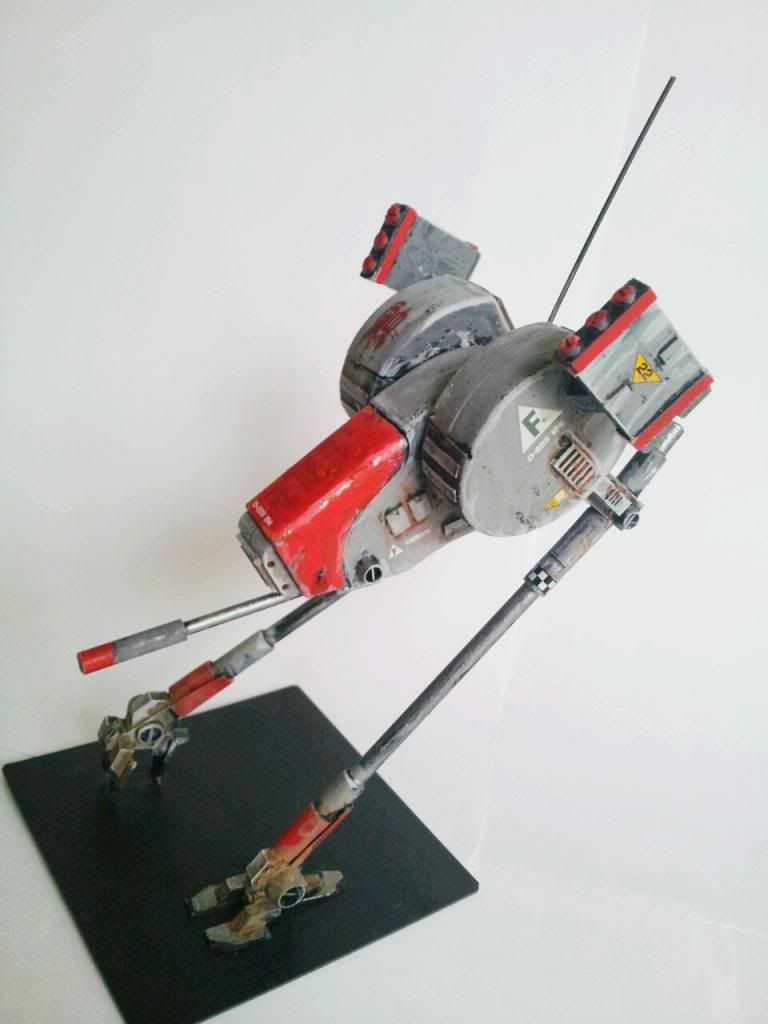
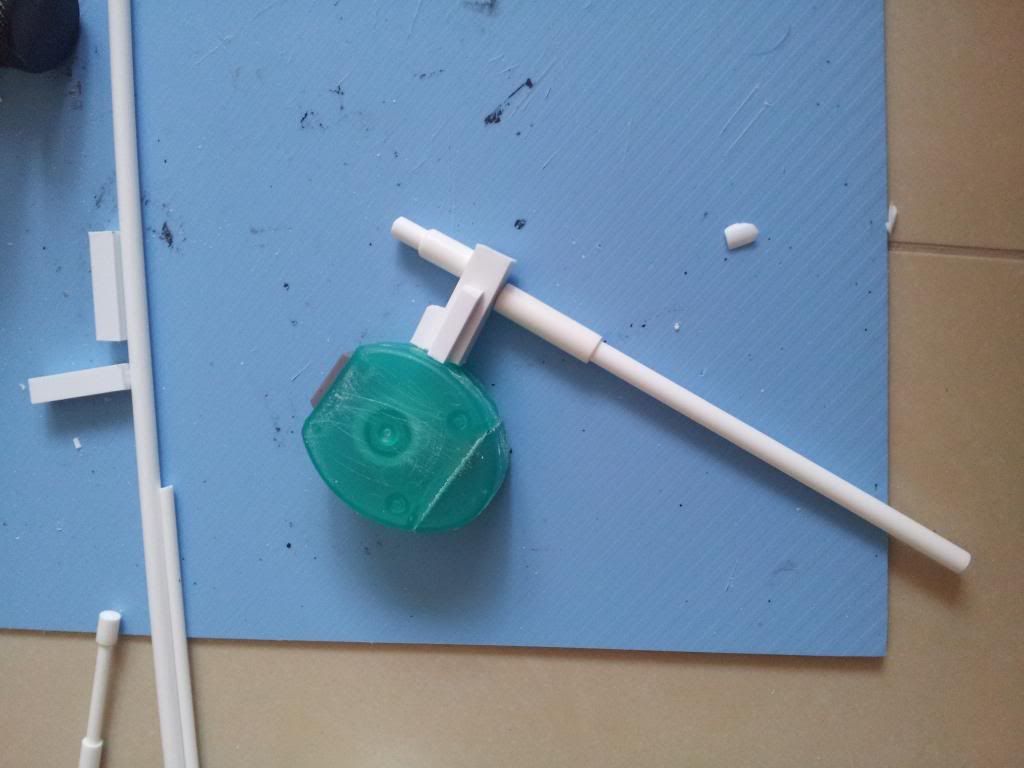
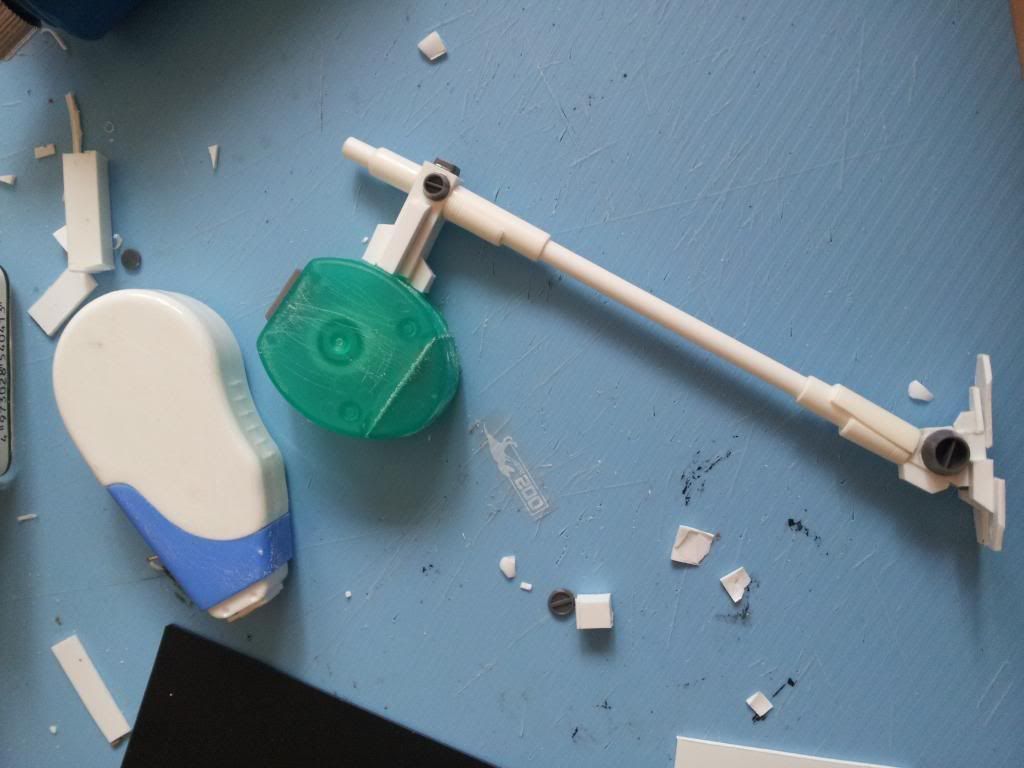
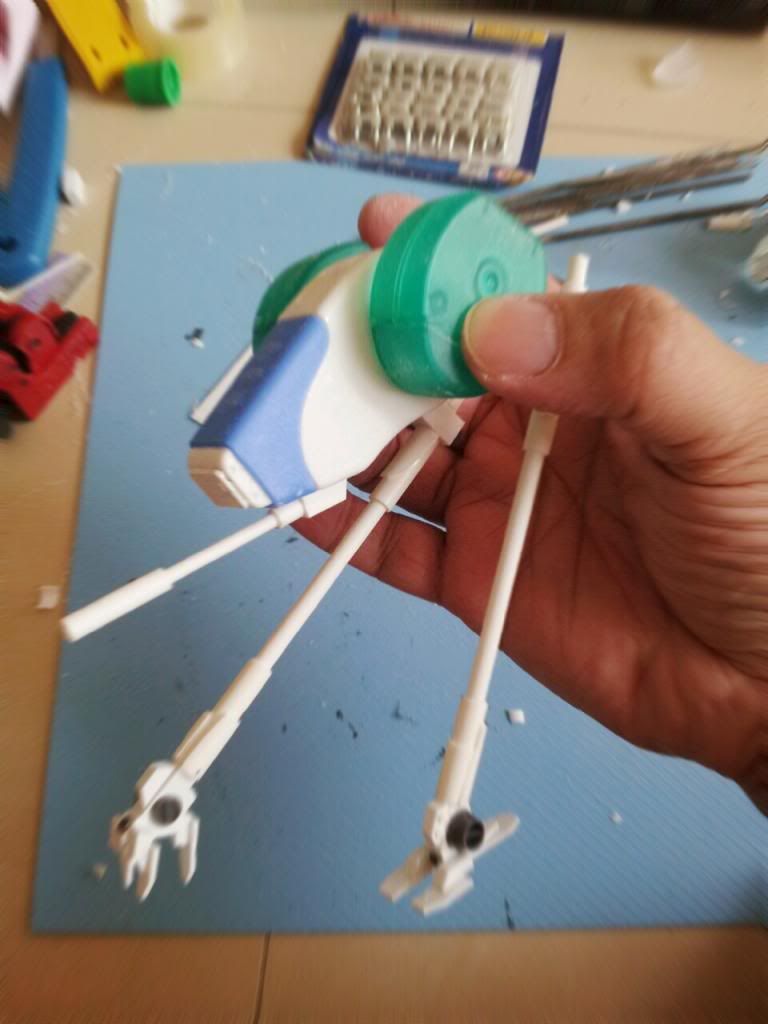
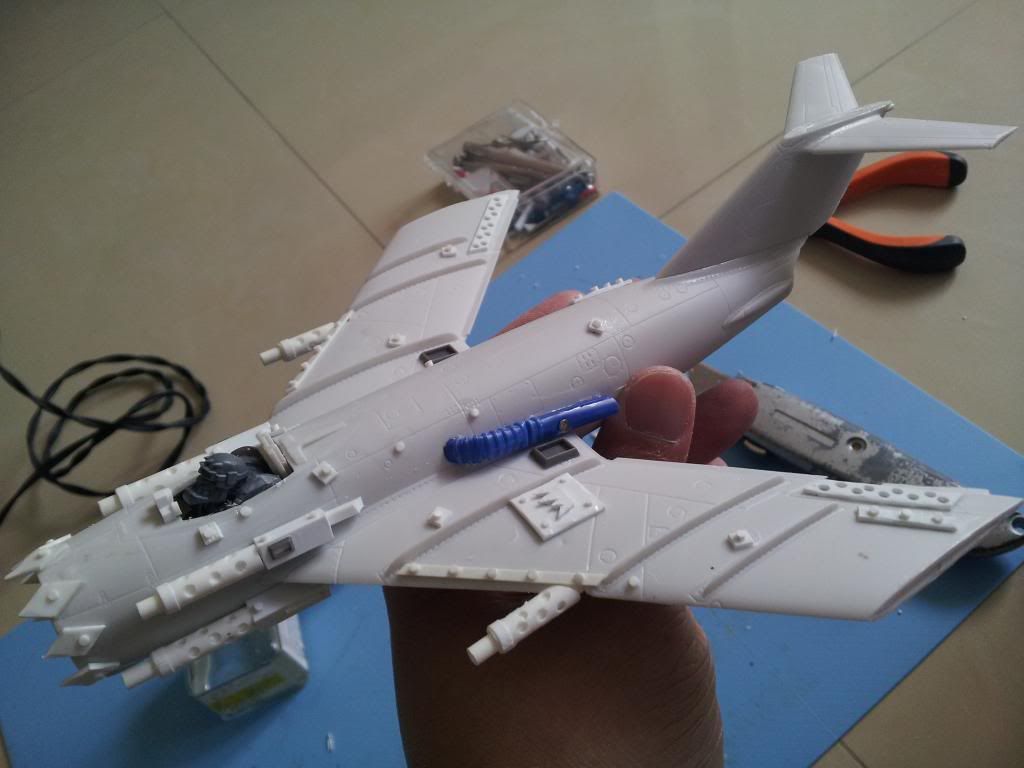
I then added "teeth" on the front exhaust intake, and scratchbuilded 6 supa shootas.

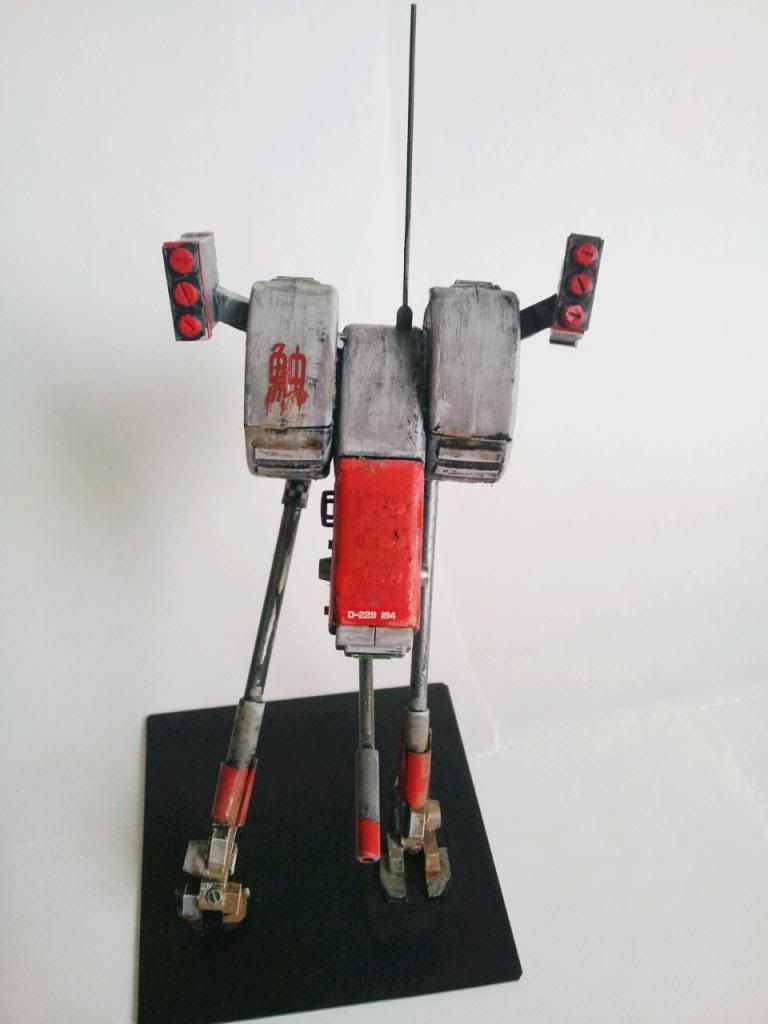
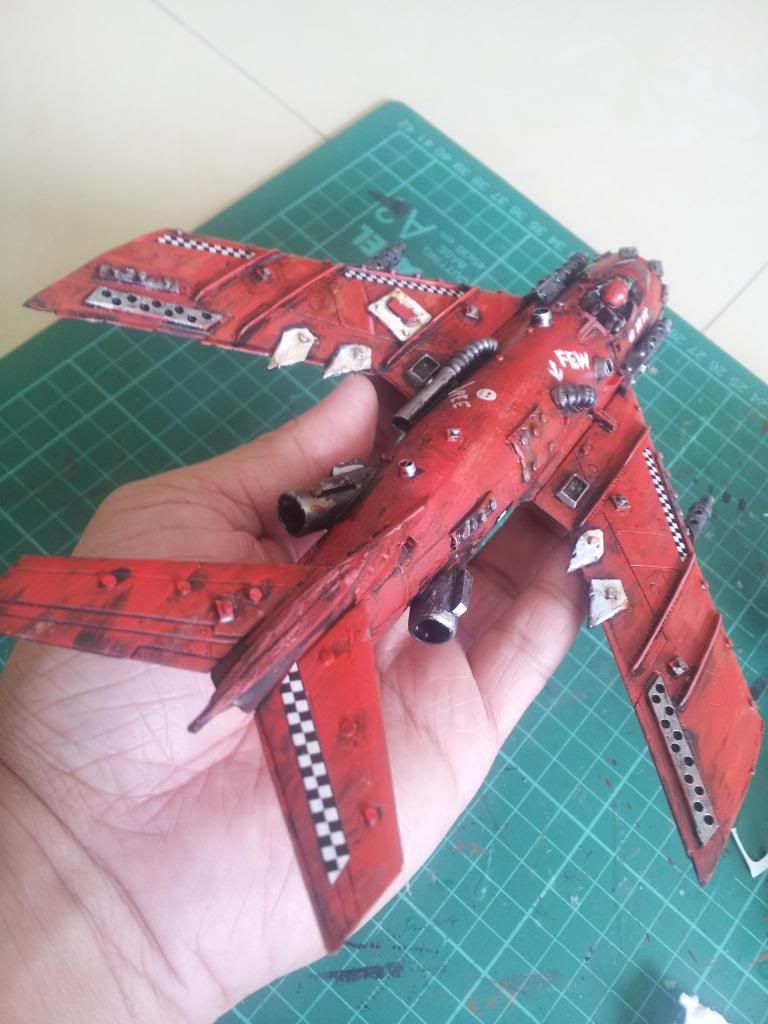
This was a fairly easy build, I added lotsa rivets and plates here and there, and I shifted the wing tails up to the top of the rudder, the tubes are from bendy drinking straws, and some plastic plates are added :


Some red paint job later :


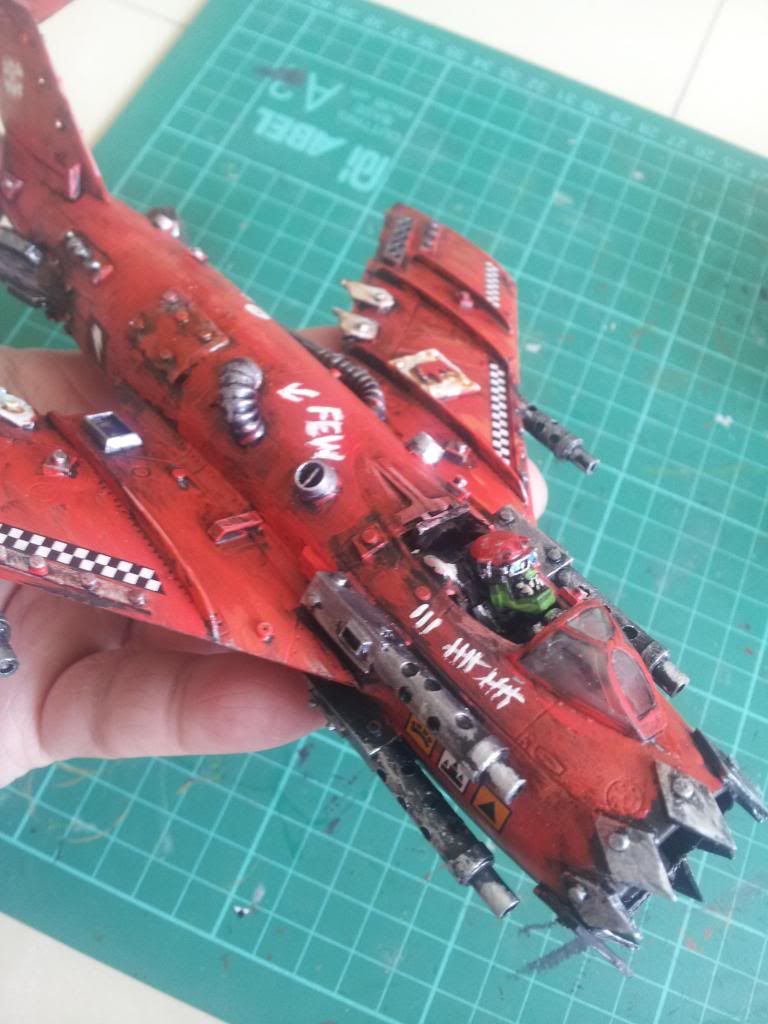
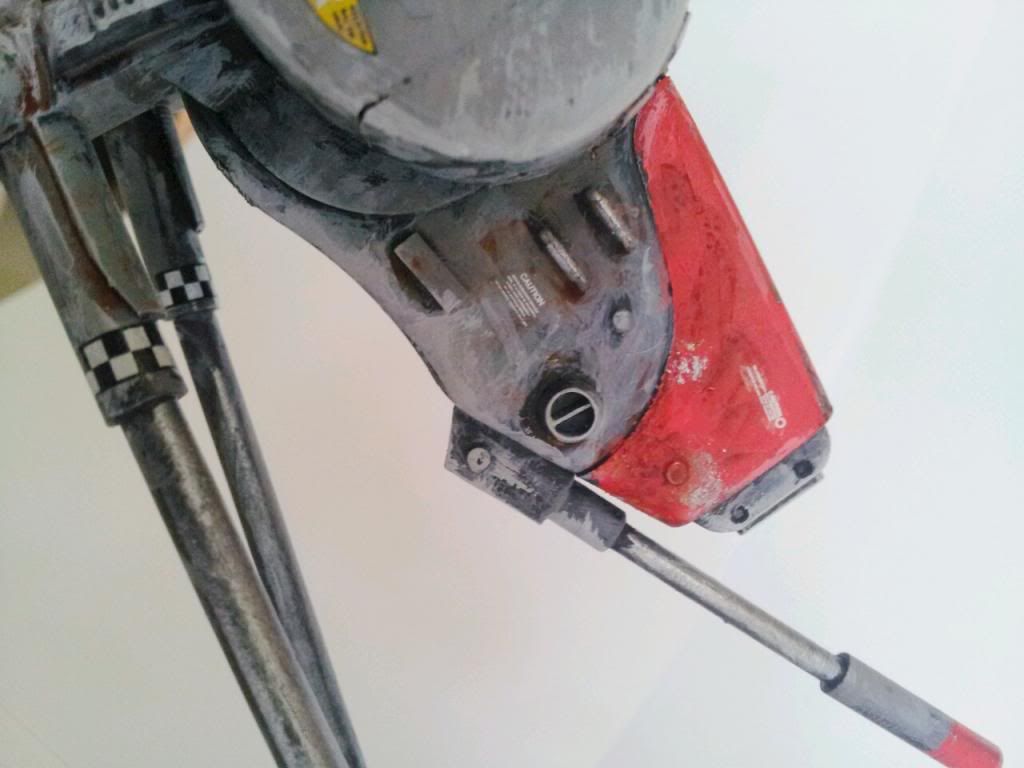
The ork army is IMHO the only one that allows some humor on your models..bad spelling like FEW [Fuel] and kill tallies, and this jet even has a PEE tube ..LOL


Thanks for viewing..this is now on the runway, ready for take off!!
 
WAAAGH!! ZROOM.......PEW PEW PEW!

Project List

Date : 29March2014....

The tons of stuff I am getting, from model kits, to minis to books and stuff..I need to record now the stuff I need to do NOW, so as to keep in persecptive instead of jumping here and there and not getting anyhting done at all.


So here it goes :

1)  Ork Big Bomma - Body from bleach bottle, sprayer bottles and materials gathering in progress.

2) Mech Diorama - Gather all the mechs and bases and make a display.

3) Ork Dakkajet - have already finished one, will post pics soon, and go ahead and make another!

4) Ork Battlewagon - WIP.

5) Terrain for my FAD (Fast and Dirty Army) - which should include some shanty african towns, mining equipment, hills.

6) Gun Drones from correction tape dispensers ! This could probaby be used in Infinity-ish or some sci-fi skirmish games more suited for 28mm scale. This was inspired by that Tom Cruise futuristic film : Oblivion. The ones in the film is a ball shaped thingy, this is not.

7) Locust Mech  DONE  LINK HERE from Correct tape dispenser - have this in the plans for pretty long, but its done!

8) Battetech Dropship from Hamterball - I have the ball. LOL.

9) Do a FAD (Fast and Dirty) battle report and  review.

10) Build some facehuggers for my Aliens project. Saw some guy at Frothers Unite did it with some wires..must make some...


The list is definitely waaaay longer than this one but just to keep things in the radar, I will just focus on these 10 items first...Amen.


Saturday 22 March 2014

Locust Mech - Painted and Done! (continued) ....

.....after finally putting everything together, I finally decided on this paint scheme, which more or less pay tribune to the original Macross Glaug / Robotech Officer Battlepod's red / grey scheme (er..okaay..you can say copied...LOL) : 


Initially I was thinking of a camo-green or desert scheme, but I guess I will have to postpone it until I managed to build another one..

Decals added a finer level detail to it, with a few tiny weeny "CAUTION ...Technical blah blah" here and there.

 
I am really proud of the foot railings I added to the right side of the Locust, I reckoned somehow when the pilot climbs out of the hatch, he has to slowly descent to the side and has somesort of tow cable to slowly lower himself down to the ground or, if you prefer, the traditional 10-metre, Anime jump [in and out of the mech] for you guys who are into the "Ninja Space Robot" kind [add some disco music on the background please]......LOL


The decal on the right shoulder is from a leftover M.ak. kit,, not sure whether there's a chinese word for it, but in Japanese it probably means "shark" or some fish...the decal broke but I smear some paint below to hide it and it kinda pulls off as weathering / battle damage....


and here with his buddy, the Warhammer !
 
 
thanks for viewing!

If you missed the making of the Locust Mech, you may click here :

Making the Locust mech from scratch


Cheers!


Thursday 13 March 2014

Locust Mech

The Locust mech has got to be one of my favourite mechs since the birth of Battletech!

"Borrowed" from Joe Crusher, this mech, originally called the Ostall, became one of the "Unseens", which I believe those diehard mecha-heads will have no problems knowing what is it all about! Was there a popular Battletech novel wrote about some Locust mech pilot's adventures? Hmmm.....


Anyway, I was looking at this correction-tape dispenser the other day and the more I look at it, the more it is screaming in my head :" USE ME ! I AM YOUR DESTINY OF A MECH!"

At a dollar each, failing is a bloody option...

And then there was 2 empty dental floss dispensers (I have good oral hygiene...lol) from my bitz box:


... and adding all the parts together, they seem alright and asking for a challenge to my somewhat mediocre scratchbuilding skills..so here it goes!

PREPARATION:


Keyword : Research, research, research. Look at pics. Lots of pics. Make sketches, think how some common parts you see daily can come together, etc HELPS A LOT.

EQUIPMENT :


I think any modellers / scratchbuilders will have all the common equipment here: plastic glue, cutters, files, bits, paperclips (for pinning), pliers, scissors, pipcutter, plastic pipes, rods, etc of various sizes... and the trusty hand drill with various bits for pinning, drilling holes.

Some preparation work is needed, you need to sandpaper or file the plastic surface so paint / glue will stick better and Pinning always helps!

Some plastic rod were pinned and glued to the dental floss containers:


One thing learnt is measuring helps! This ensure when you are building the other side [Right and Left] are consistent...


I was pretty random at this point onwards, from the legs, I added a piece here, a bit there...hoping the overall feel resembles the real deal...If I were to build another, the joints could have been thicker..so...
 
 
After I got all the important parts, I hold them together for a dry fit, this part is necessary as you get a rough guide on how the overall mech will look like and I wanted it to be able to stand ON ONE LEG just like the one in the classic pic!


What the hell was I thinking?! So I shifted the weight here and there, added 2 rocket launchers to each side. Then I glue all the parts together and glue it on a square, 1mm plastic base, and.....
 
 
TADA! It actually balances! PHEW! The left foot was glued to a square black plastic base while the right foot claw's back claw was only touching it, so I added a dab of glue to adhere it to the base too, so the weight distribution is better.
 
This didnt really look 100 % like the original, but I was glad it's pretty close...
Onwards to adding small details, undercoating and paint later !
 
Thanks for viewing!


TO BE CONTINUED
 
Update: it is painted and done! Would you like to know more?